Table of Contents:
Safety Precautions:
Before starting any DIY ATV tyre repair, it's important to take certain safety precautions. Ensure that the ATV is turned off and the key is removed from the ignition. Also, ensure that the ATV is on level ground and secure. Wear gloves and eye protection to protect yourself from any injury.
Tools and Materials Needed:
To repair an ATV tyre, you'll need the following tools and materials:
- Tyre repair kit
- Tyre sealant
- Tyre patch kit
- Tyre plug kit
- Pliers
- Lug wrench
- Jack
- Air compressor
How to Repair a Punctured ATV Tyre:
A puncture is one of the most common types of damage that can occur to an ATV tyre. Here's how to repair it:
A. Locate the Puncture: Identify the location of the puncture by examining the tyre and listening for any hissing sounds.
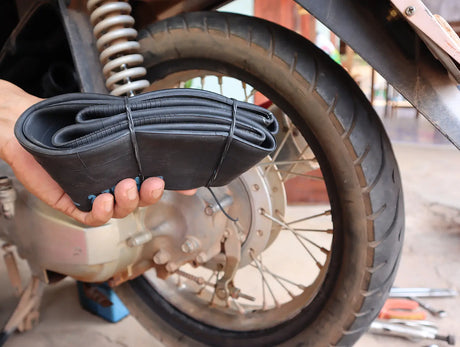
B. Remove the Tyre: Remove the tyre from the ATV using a lug wrench and a jack.
C. Inspect the Tyre: Check the tyre thoroughly for any additional punctures or damage.
D. Repair the Puncture: Use a tyre repair kit or a tyre plug kit to repair the puncture. Apply the tyre sealant to prevent future punctures.
E. Inflate the Tyre: Use an air compressor to inflate the tyre to the recommended PSI level.
F. Check for Leaks: Check for any leaks by applying soapy water to the repaired area and looking for bubbles.
G. Reinstall the Tyre: Reinstall the tyre onto the ATV using a lug wrench and a jack.
H. Test the Tyre: Test the tyre by taking a short ride at a slow speed to ensure it's holding up well.
Conclusion:
DIY ATV tyre repair is a great way to save time and money. However, it's important to ensure that the repair is done correctly to avoid any potential safety hazards. By following the steps outlined in this guide, you can successfully repair a punctured or damaged ATV tyre. Always prioritize safety and take the necessary precautions before starting any DIY repair project.